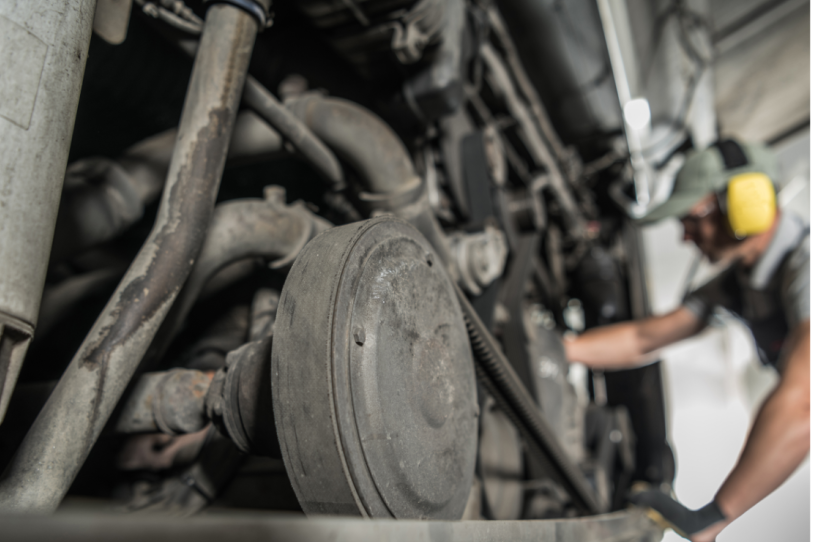
When the leaves start to turn and the air gets crisp, it’s not just a signal for pumpkin spice lattes and cozy sweaters. If you’re an RV owner, it’s a clear hint that winterizing your home on wheels is a top priority. You’re going to find out about the critical process of prepping to winterize your RV for the colder months, and why it’s so important for maintaining your vehicle in top condition.
This isn’t just about winterizing your RV from damage during the freezing temperatures, it’s also about ensuring that come spring, you can hit the open road with minimal problems . We’re looking at the need to protect your plumbing, engine, and interior from the damaging effects of snow, ice, and low temperatures.
I’m here to help you with a practical guide that’ll walk you through the winterization process step by step. And guess what? You won’t need to be a mechanical genius to follow along. You can always adjust your approach down the road, but the goal today is to give you a comprehensive and easy-to-understand plan to protect your investment.
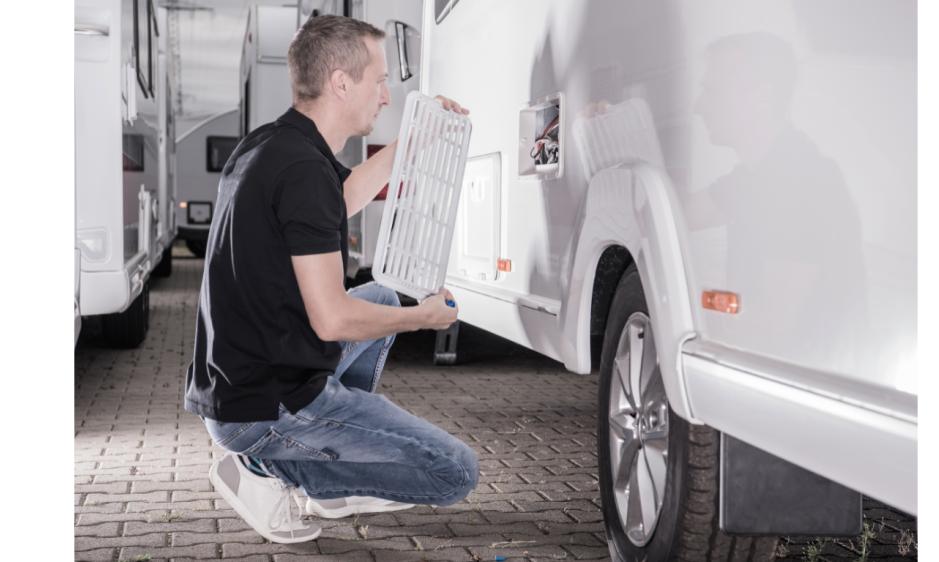
With this guide, you’re going to find out about the 15 necessary steps to winterize your RV, filled with detailed information put in list form from 1 to 15. It’s crucial because, with proper winterization, you can escape costly repairs and ensure your RV lasts for many years to come. So lets get ready to prepare your home on wheels for those long cold winters.
Preparing Your RV for the Cold
Getting ready for the chilly season means more than just pulling out a few extra blankets. For your RV, it involves a careful approach to ensure its components and living spaces remain untouched by freezing temperatures. In this section, we’re going to look into the key actions you need to take to protect your rolling home away from home.
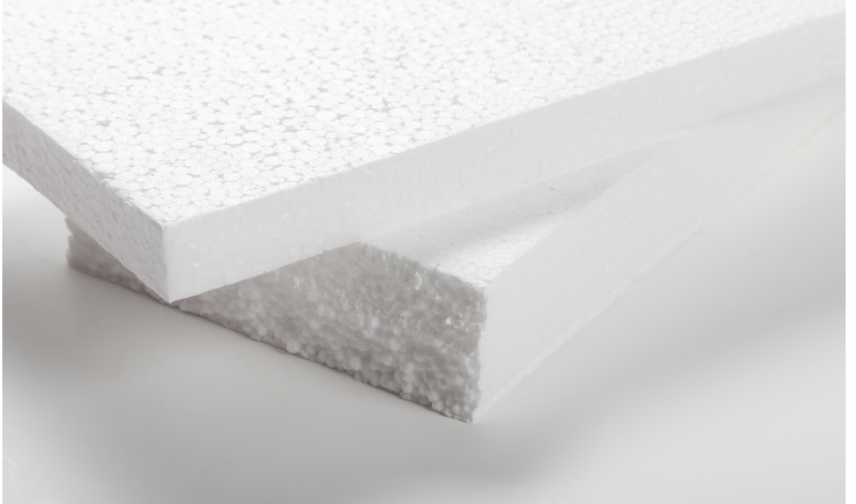
Insulation isn’t just for bricks and mortar; it’s critical for your RV as well. It’s what stands between you and the freezing cold outside. There are specific spots you’ll want to focus on: windows, doors, and any other areas prone to air leaks. Using insulating materials like foam board or reflective foil which can make a huge difference. And don’t forget to check your RV’s skirting – it’s your first defense against underbelly frost.
The water system in an RV is its lifeline, but it’s also vulnerable in cold weather. You can always adjust your approach down the road, but for now, remember to drain the water tanks, and don’t leave any moisture to freeze and potentially damage your pipes. What about keeping your RV cozy and your pipes from freezing when you’re using it? That’s where small space heaters under the rig can come in handy, but use them cautiously.
Your RV’s batteries are the important part of your RV. They keep things running smoothly and need to be fully charged to withstand the cold. Think about removing batteries and storing them in a warmer place if you’re not planning to use the RV. Fuel levels also need attention. Keeping your gas or diesel tanks full helps to prevent condensation, which can lead to freezing and other unwanted issues in the fuel system.

Ready to make sure your RV stands tall against the winter chill? The following section has the 15 essential steps to winterize your RV, each with details to ensure you don’t miss a beat. We’re about to cover everything from plumbing to power systems so that you can rest easy knowing your RV is tucked in snug for the winter.
15 Detailed Steps to Winterize Your RV
I’m going to walk you through a step-by-step guide on how to thoroughly winterize your RV. This isn’t just about keeping it in good shape; it’s also about making sure that come spring, your RV is ready to roll without any nasty surprises. So here’s what you need to do:
1. Start by cleaning your RV thoroughly, both inside and out. This sets the stage for an easier process and discourages pests.
2. Drain the water from all tanks, including fresh, gray, and black water systems, to prevent any freezing damage.
3. Add non-toxic RV antifreeze to the plumbing. Make sure you run it through all the pipes, faucets, and valves to keep them from freezing.
4. Bypass the water heater to prevent antifreeze contamination and save on the antifreeze required.
5. Seal up potential entry points for pests with silicone or expanding foam, focusing on cracks and crevices.
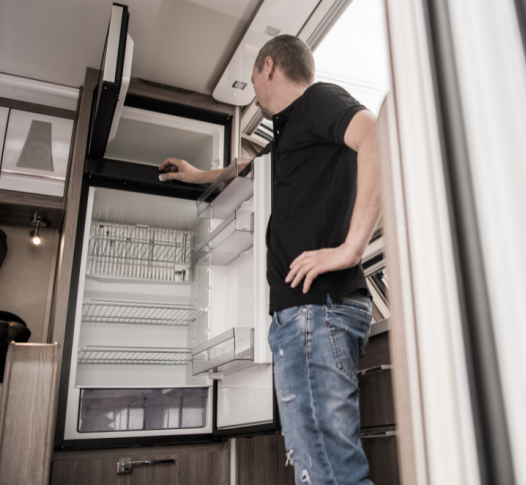
6. Remove all food and perishables which could attract rodents and insects.
7. Cover all external vents and openings to block critters and maintain insulation.
8. Inflate tires to proper pressure and cover them to protect against the elements and sun damage.
9. Disconnect and store batteries after fully charging them to help maintain their lifespan over the winter. If you find that any of your batteries are leaking that is battery acid and it is a hazardous material and extremely dangerous and must be disposed of safely.
10. Change the oil and filters to prevent corrosion and ensure your engine is ready for your next trip.
11. Lubricate hinges, locks, and moving parts to prevent seizing from cold and disuse.
12. Clean and cover your awnings to shield them from snow and debris.
13. Close all windows, blinds, and curtains to add an extra layer of insulation and protect the interior from UV damage.
14. Check the roof and apply sealant to any cracks or leaks to prevent water damage.
15. Arrange for a breathable, weatherproof RV cover that fits properly to ward off snow, rain, and dirt.
Now, while these steps have you covered, there are a few more things to keep in mind during the coldest months, which you’re going to find out about in the next section.
NOTE: If you do not have a mechanical knowledge of how to fix these items i recommend you find a trained mechanic to fix these or any other items on your RV by a professional. Remember this is your home on wheels.
Maintaining Your RV Throughout the Winter
I’m going to level with you: winterizing your home on wheels is just the first step. To truly protect your investment through the frosty months, regular maintenance is crucial. You might think it’s time to kick back and relax until spring, but don’t get too cozy just yet. You’ll need to keep a watchful eye on your RV to prevent any small issues from becoming major headaches later on.
This isn’t just about checking off tasks from a list; it’s also about being proactive. Every few weeks, take a moment to inspect your RV. Check for signs of weather damage or critters looking for a winter home. It’s important to ensure your cover remains secure and that any heating elements you’ve installed are functioning correctly. If you’ve used moisture absorbers, these will need a look to see if they require replacing.
Now, what about those unexpected issues that pop up despite your best efforts? Common challenges might include a dead battery, a surprise leak, or a stubborn patch of mildew. I’m here to help you tackle these head-on. Often, a simple solution—a battery maintainer, a sealant fix, or a good cleaning—can do the trick.
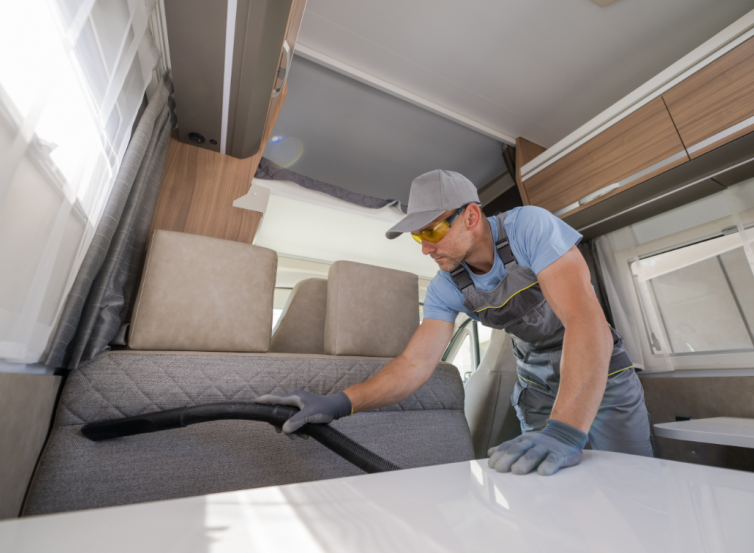
But remember, there’s a line between a quick fix and needing expert help. Don’t hesitate to call in a pro for complicated problems, especially if it involves your RV’s internal systems. They can often spot things you might have missed and help prevent costlier repairs down the road.
Lastly, as the days start to lengthen and the snow melts away, it’ll be time to think about dewinterization. This process is just as important to ensure all systems are go for your spring travels.
Winterizing and maintaining your home on wheels isn’t just a chore; they’re steps that guard your home on wheels so you can continue to explore and make memories for years to come. I really hope that through this guide, you feel equipped and confident in keeping your RV in tip top shape, even when the temperatures drop.
NOTE: When it finally comes time to get your RV back on the road you need to inspect your entire vehicle for any issues that may have occurred while not being used and When you are on the road everyday, i recommend that you inspect the RV each morning before you travel down the road not only to keep your home on wheels in good shape but also for your safety as well.
