I’m here to help you understand the ins and outs of a complete RV solar system. It’s not just a matter of convenience; going solar is a step towards sustainable living. Imagine powering up your RV without the loud hum of a generator or being plugged in to a campground’s electrical hookups. Freedom, right?

Now, a complete RV solar system consists of several key components working together. This includes solar panels that capture the sun’s energy, a charge controller to manage that power, an inverter to convert it to usable electricity, and of course, batteries to store it for later use.
You’re going to find out about the importance of each part and how, together, they provide a self-sustaining power source. This system is what keeps your lights on, your fridge cold, and your devices charged while you’re living the RV dream—be it nestled in the solitude of a forest or parked on a mountain ledge or even a night or two parked at a private beach.
But remember, this isn’t just about assembling parts; it’s also about designing a system tailored to your energy needs. Whether you own a compact van or a massive motorhome, your solar system must be scaled accordingly. That means considering how much energy you use daily and the electronic items you can’t live without.

So I’ll walk you through assessing your needs to ensure your solar system won’t leave you in the dark. But the real importance of your energy independence lies in the batteries. The right choice here is crucial, and that’s what I’m going to tackle next.
The Heart of the System: Choosing the Right Batteries for Your RV Solar Setup
I’m going to talk about a very important item that could make or break your RV solar setup: the batteries. They’re the heart of your system, the silent workhorses that store the energy your solar panels capture. Without reliable batteries, you’d only have power when the sun shines, which isn’t much help after dark or during cloudy weather.
Now, you’ve got two main contenders in the battery arena: Lead-Acid and Lithium-Ion. Each comes with its own set of pros and cons.
PROS: For Lead-Acid batteries are relatively low-cost and have a decent life span when maintained properly,

CONS: They’re hefty and have a lower depth of discharge, meaning you can’t use all the energy stored without damaging them.
PROS: Lithium-Ion batteries are lighter, have a higher depth of discharge, and longer life spans, CON: expensive to buy, the larger the system the higher the cost.

Choose something that works with you and meets your needs. Are you a weekend warrior who hits the road occasionally, or are you living the full-time RV lifestyle? Your answer could dictate which battery type suits you best.
For a more short term use, lead-acid might work .
For those on the long haul, lithium-ion could be more cost-effective over time.
Lead-Caring for your batteries is just as important as selecting them. Regular maintenance:
- Lead-Acid batteries can extend their service life, including tasks like topping off water levels and ensuring they’re not overcharged.
- Lithium-Ion is much more set-and-forget, with minimal maintenance needed.
Safety is crucial, so my advice is to always follow the manufacturer’s instructions to the letter for both installation and use. Batteries can be dangerous if not handled correctly, and you surely don’t want your home on wheels turning into a safety hazard.
A Step-by-Step Breakdown: Complete RV Solar System and Battery List
You’re going to find out about the uses of each component in your RV solar system setup. So let’s walk through the typical elements you’ll include:
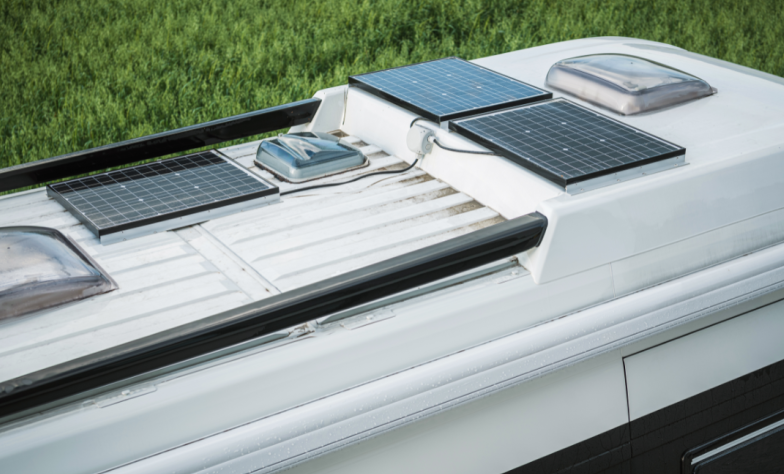
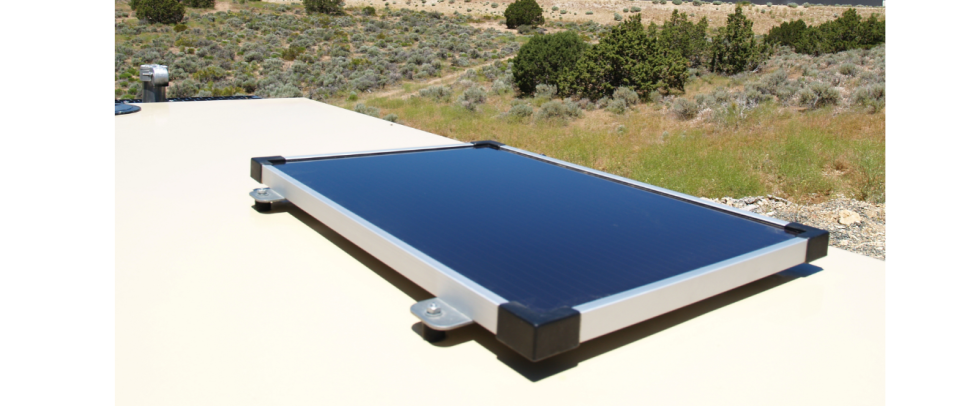
– Solar Panels: These are your power generators. Generally, you’d have multiple panels depending on the size of your RV and your energy needs. Monocrystalline panels are efficient and space-saving.
–Charge Controller: The charge controller regulates the voltage and current from the panels to the batteries, ensuring they don’t overcharge.

– Batteries: Your choice here will make a significant difference. Lithium-ion batteries are top-rated for their efficiency and depth of discharge. Lead-acid batteries are cheaper but require more maintenance.
–Inverter: This device converts the DC electricity stored in the batteries to AC electricity that your RV appliances can use.

– Battery Monitor: It’s like a fuel gauge for your battery. A monitor will help you keep track of how much energy you’re using and how much is left.

– Solar Cables and Mounting Hardware: Don’t skimp on these; good quality cables and mounting hardware will keep your panels securely attached and the power flowing.

When it comes to installing a solar system, it isn’t just about getting power; it’s also about doing it safely. Choose components that resonate with you, but also ensure they meet the necessary standards and certifications.
As you incorporate these components into your RV, you can always adjust your approach down the road. Your first attempt doesn’t need to be your last. Embrace the learning curve—it’s part of the adventure. And remember, you’re investing not only in a greener way to travel but also in the freedom to travel off-grid.
In conclusion, building a complete RV solar system with quality batteries involves understanding the role each component plays. From the solar panels harnessing sunlight to the batteries storing this precious energy. And the type of battery you choose? That’s going to influence the efficiency, longevity, and heartiness of your entire setup. Whether it’s a weekend getaway or a full-time living situation, your commitment to sustainable energy will pay off in the long run. So, make informed choices, invest in reliable products, and always do your research in the type of parts you are going to use to complete an RV solar system with batteries.
